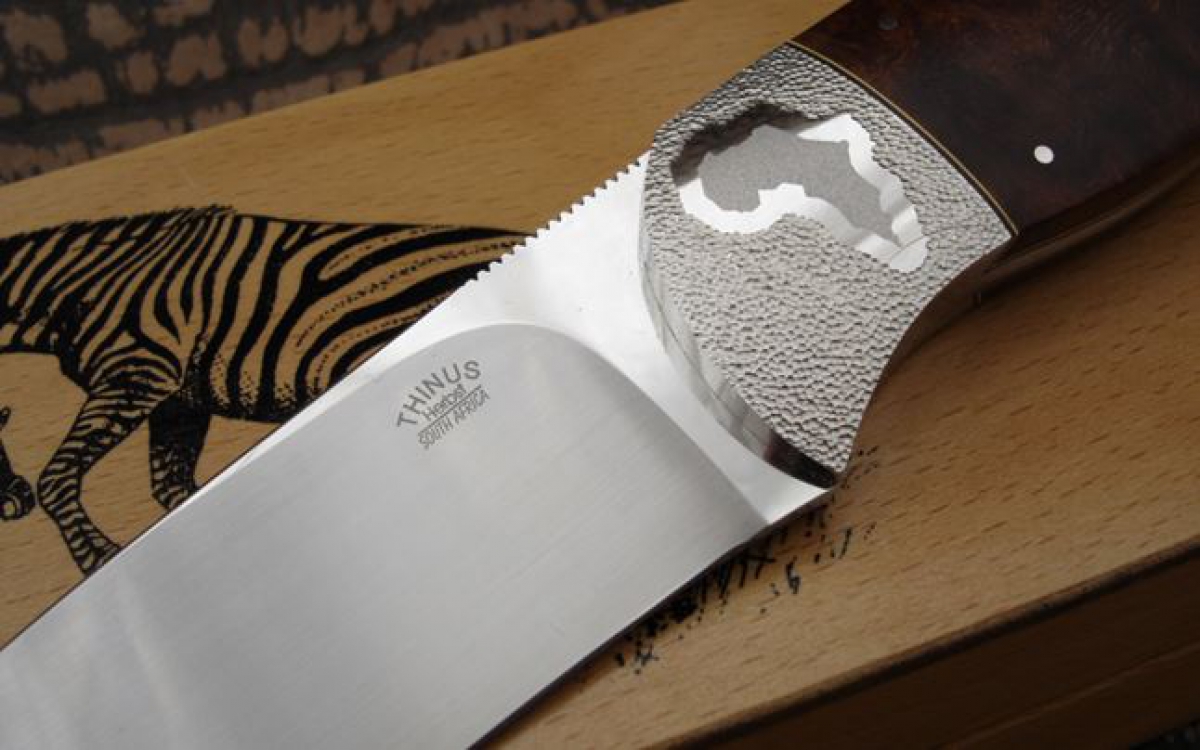
Firstly, draw the object that you want to use on the bolster of your knife. If you are feeling a bit artistic you can even make the drawing on the bolster yourself. The easiest way is to make a negative of the image and use POSITIVE 20 to transfer the drawing onto the bolster in a similar manner that you would have etched your logo onto the blade.
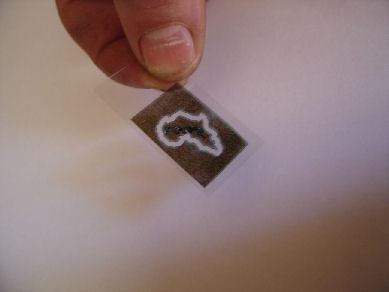
Spray the blade with Positive 20. The film coat must be even and dust free. Let it dry overnight or you could dry it for approximately 15 minutes with a blow dryer.
Hold the blade and negative very still in direct sunlight for approximately 45 seconds.
Remove the negative and put a drop of caustic soda (use a solution of one teaspone of caustic soda dissolved in one liter of water) on the blade. The image will be shiny when fully developed.
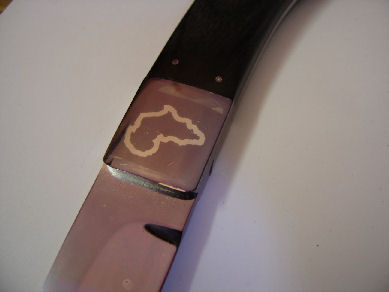
I usually use a image with a very thick outline as showed on the photo.
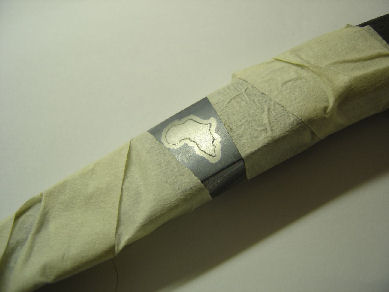
Once the drawing is transferred onto the bolster, stick a piece of clear vinyl over it. Cut the inside of the image out with a sharp blade (see photo). Cover the knife with masking type, leaving only the cut out portion open.
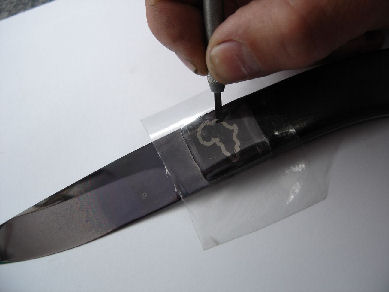
Pebble blast the inside of the cut out. Leave the vinyl on the bolster. Cut the vinyl on the outside of the drawing. Remove the vinyl on the outside leaving only the thick outline of the sketch.
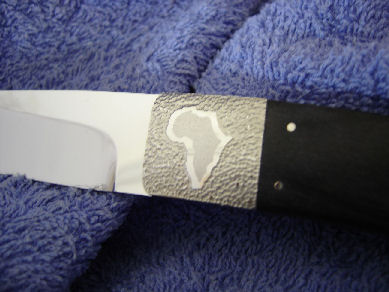
Use your rotary carver to stipple or grind small dents onto the bolster leaving only the sketch with its outline. After the stippling is finished the vinyl is removed and the knife is cleaned.
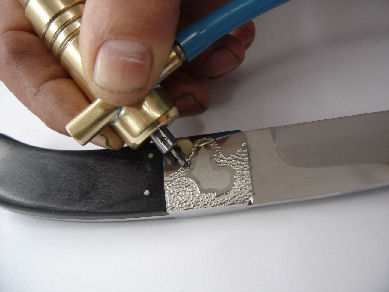
Gawie Herbst, designer of the Afri-carver has designed a new rotary carver, the Turbo engraver. This machine is the ultimate tool for knife makers if you want to do wood carving or engraving on steel, bone, ivory or even glass. This is a very small lightweight machine available from HERBST Knife-making academy.


